White Tulip Designs » Inspiration, Design, and DIY for all of life's events.

Masthead header

Bunting Pillow How-to

Here’s the How-To for the bunting pillow from earlier this week.

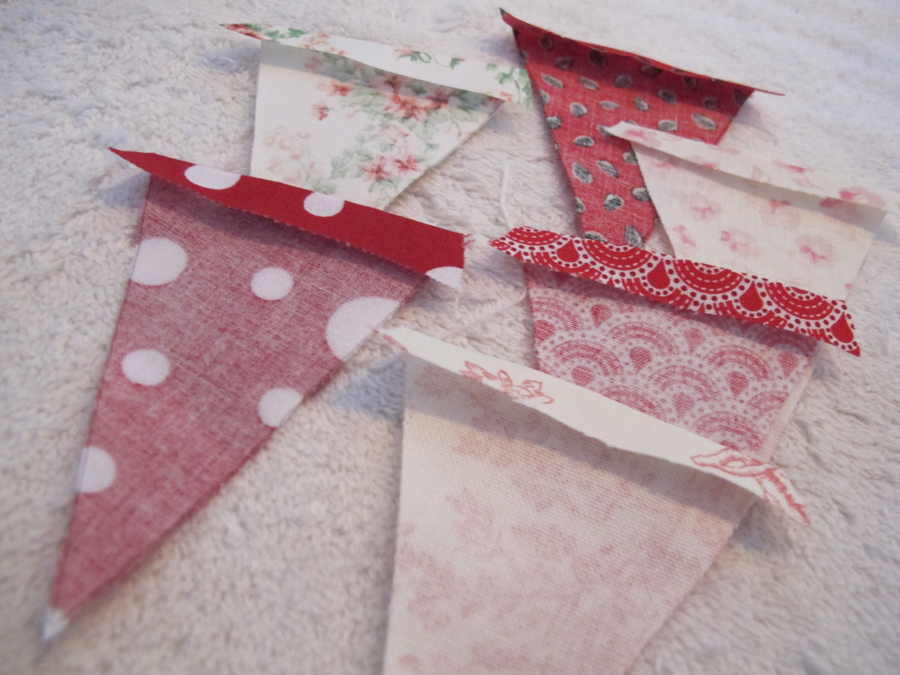
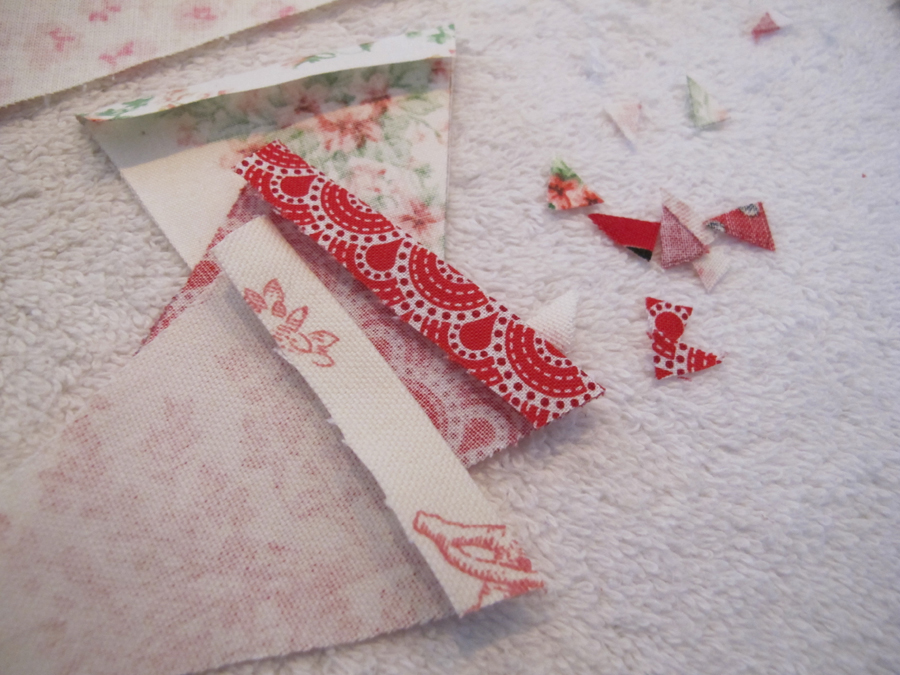
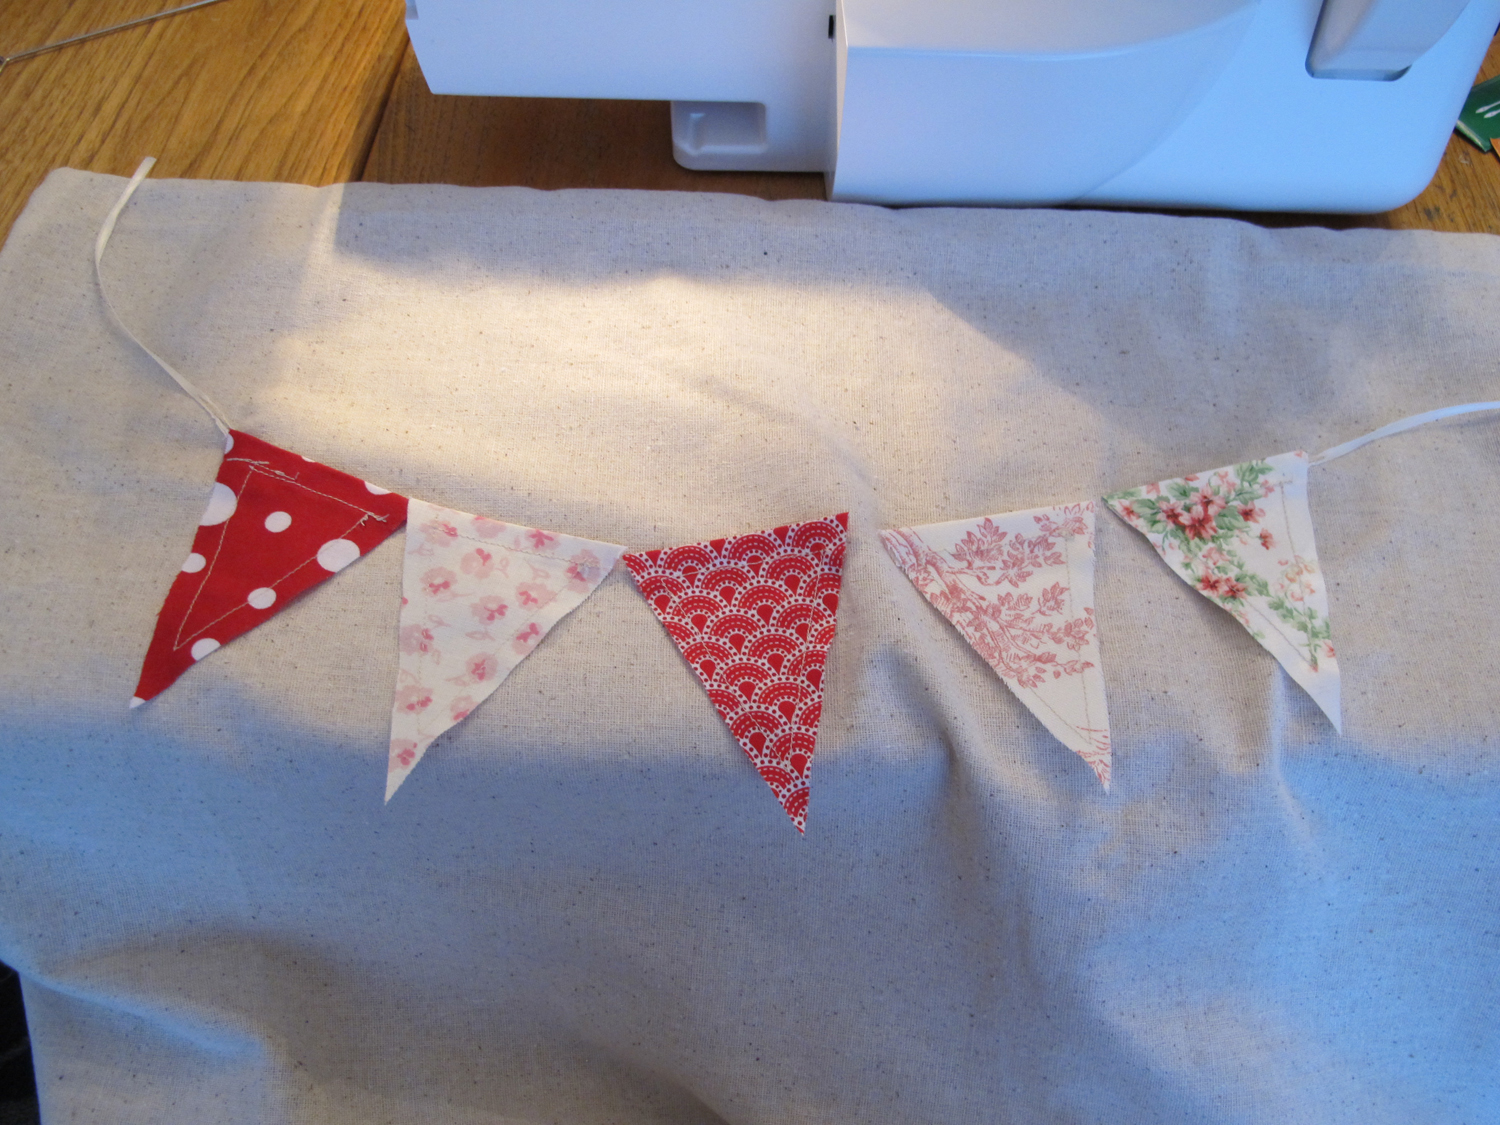
Start off by cutting and sewing your bunting flags. My triangles are roughly 3 inches across the top and 3¾ inches from top to tip but you can size them however works best for your project. Fold back the top of your triangle about ½ inch and iron down. Then snip the little bit of overhang on either side. Then sew along the bottom of the fold (making a sleeve for your ribbon) and continue the seem around the rest of the triangle.

Bunting Flags  - White Tulip Designs         Bunting Flags-tabs - White Tulip Designs

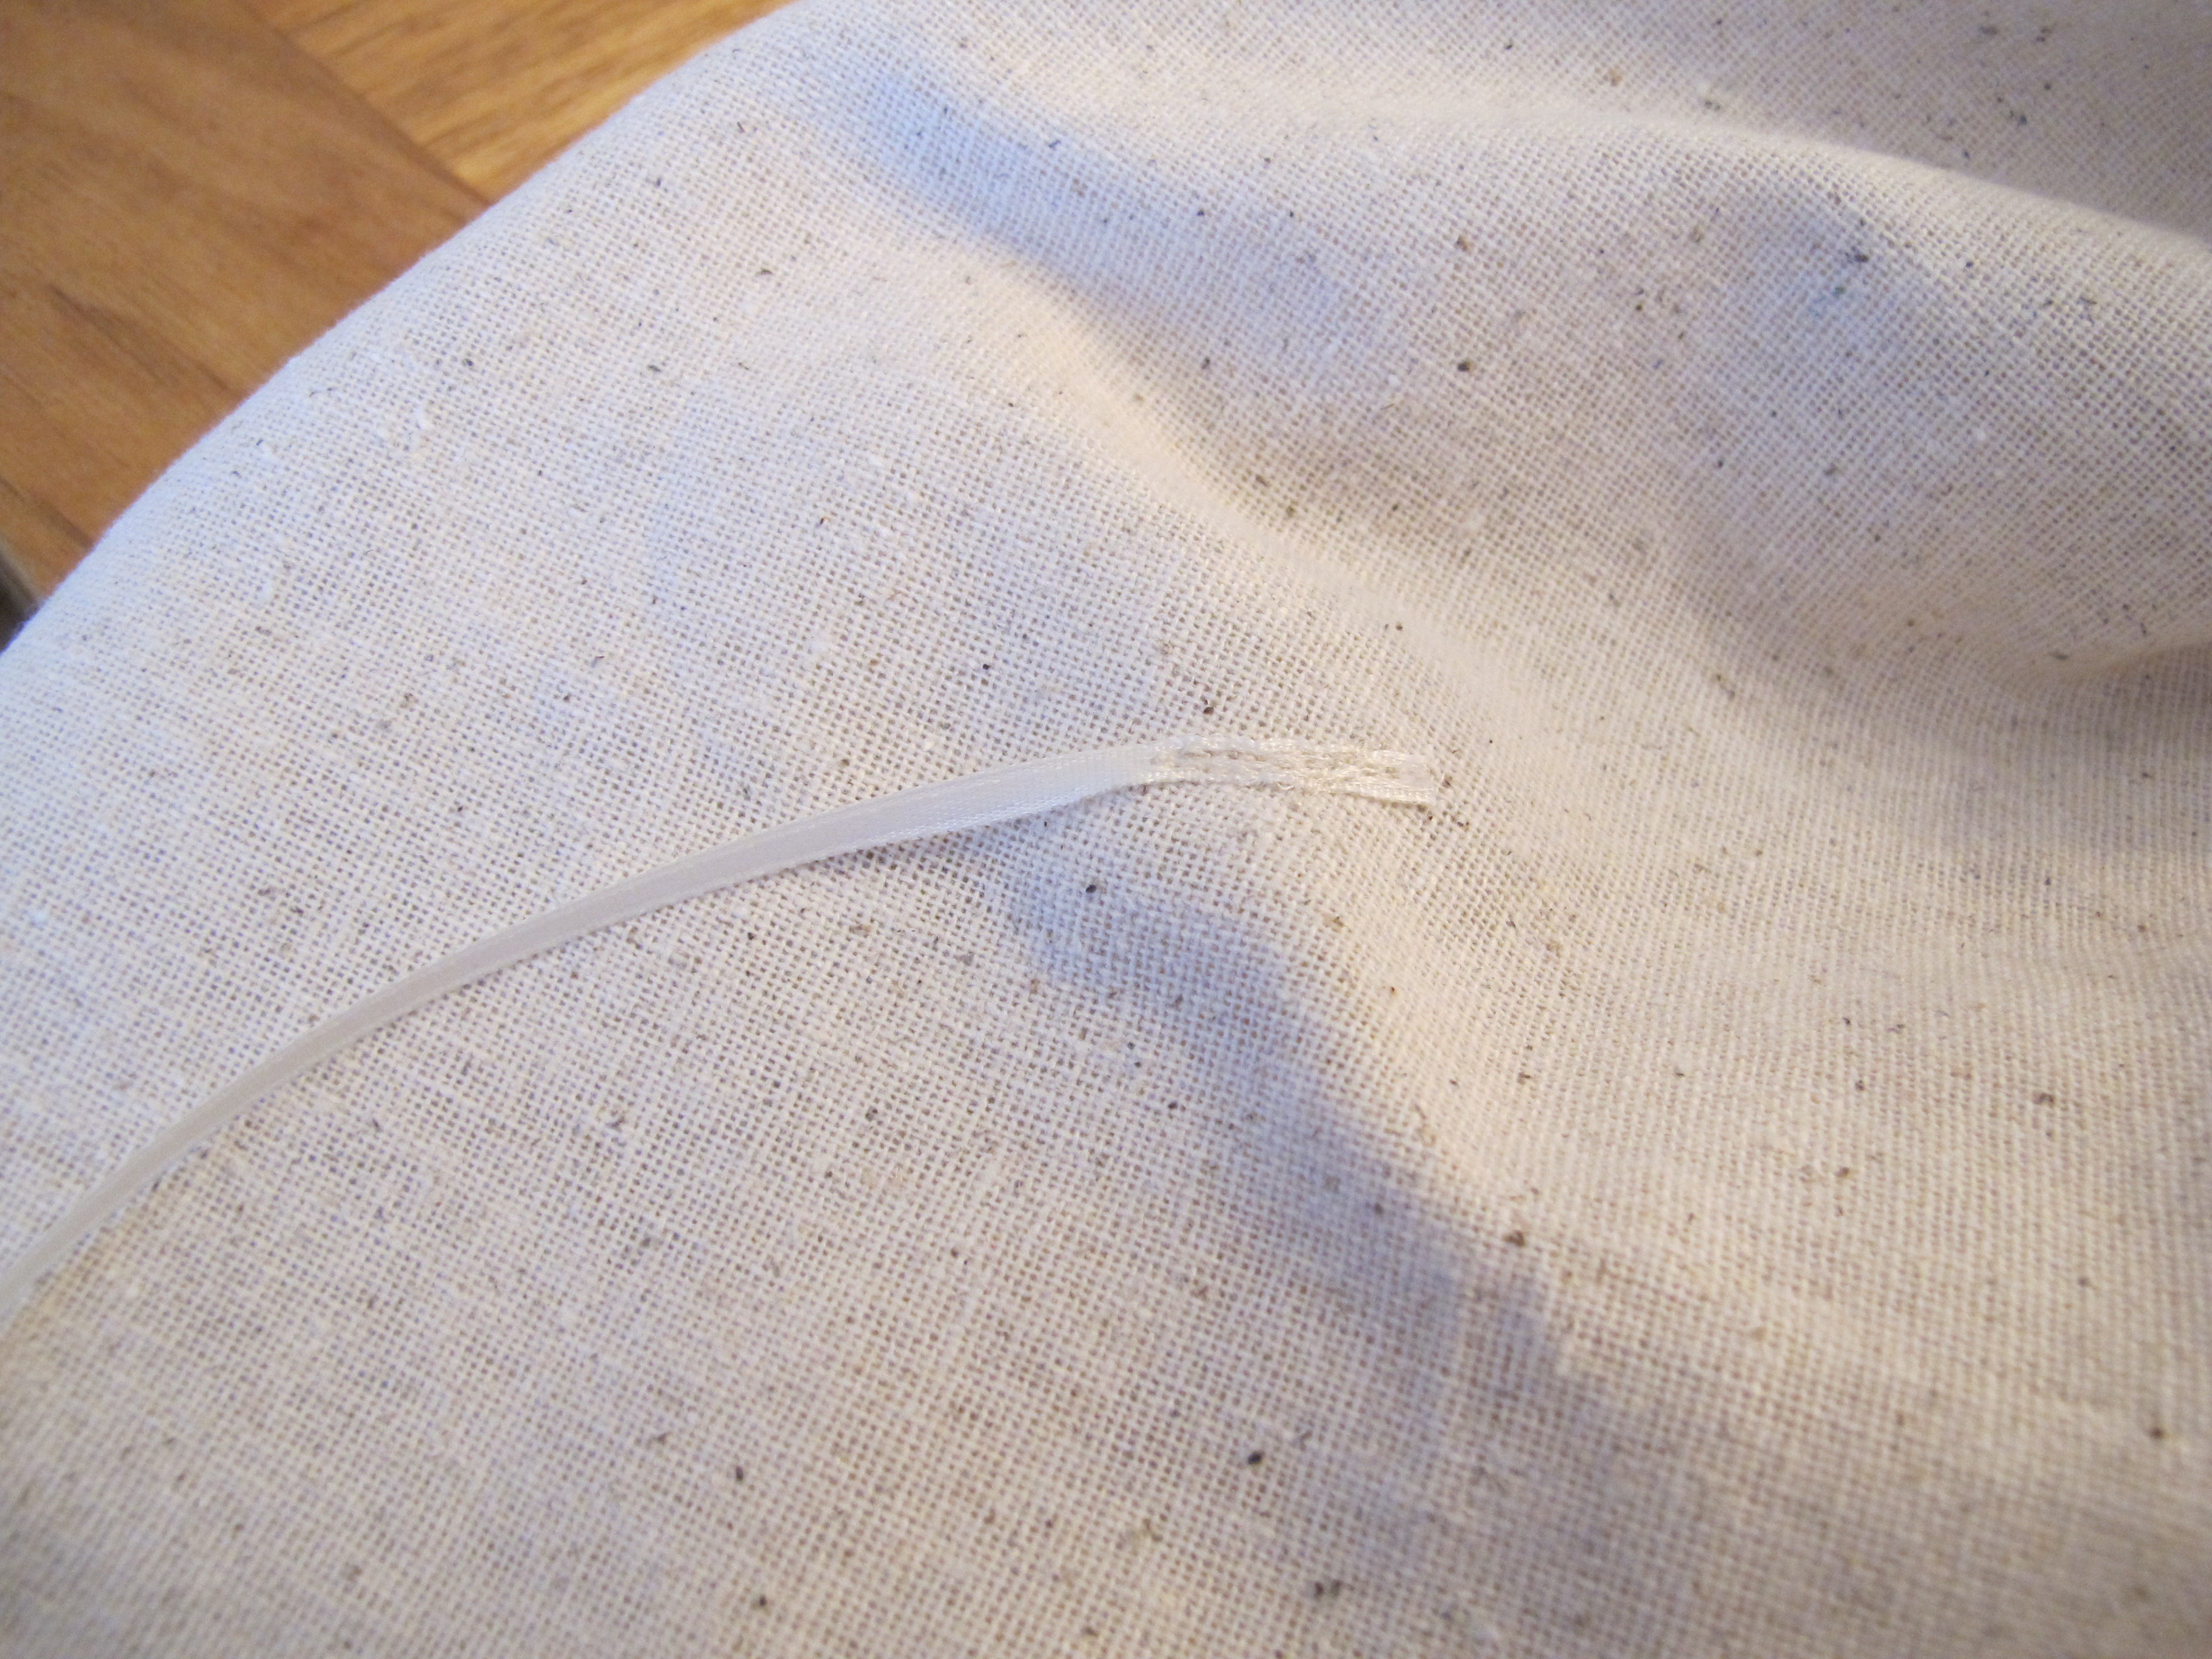
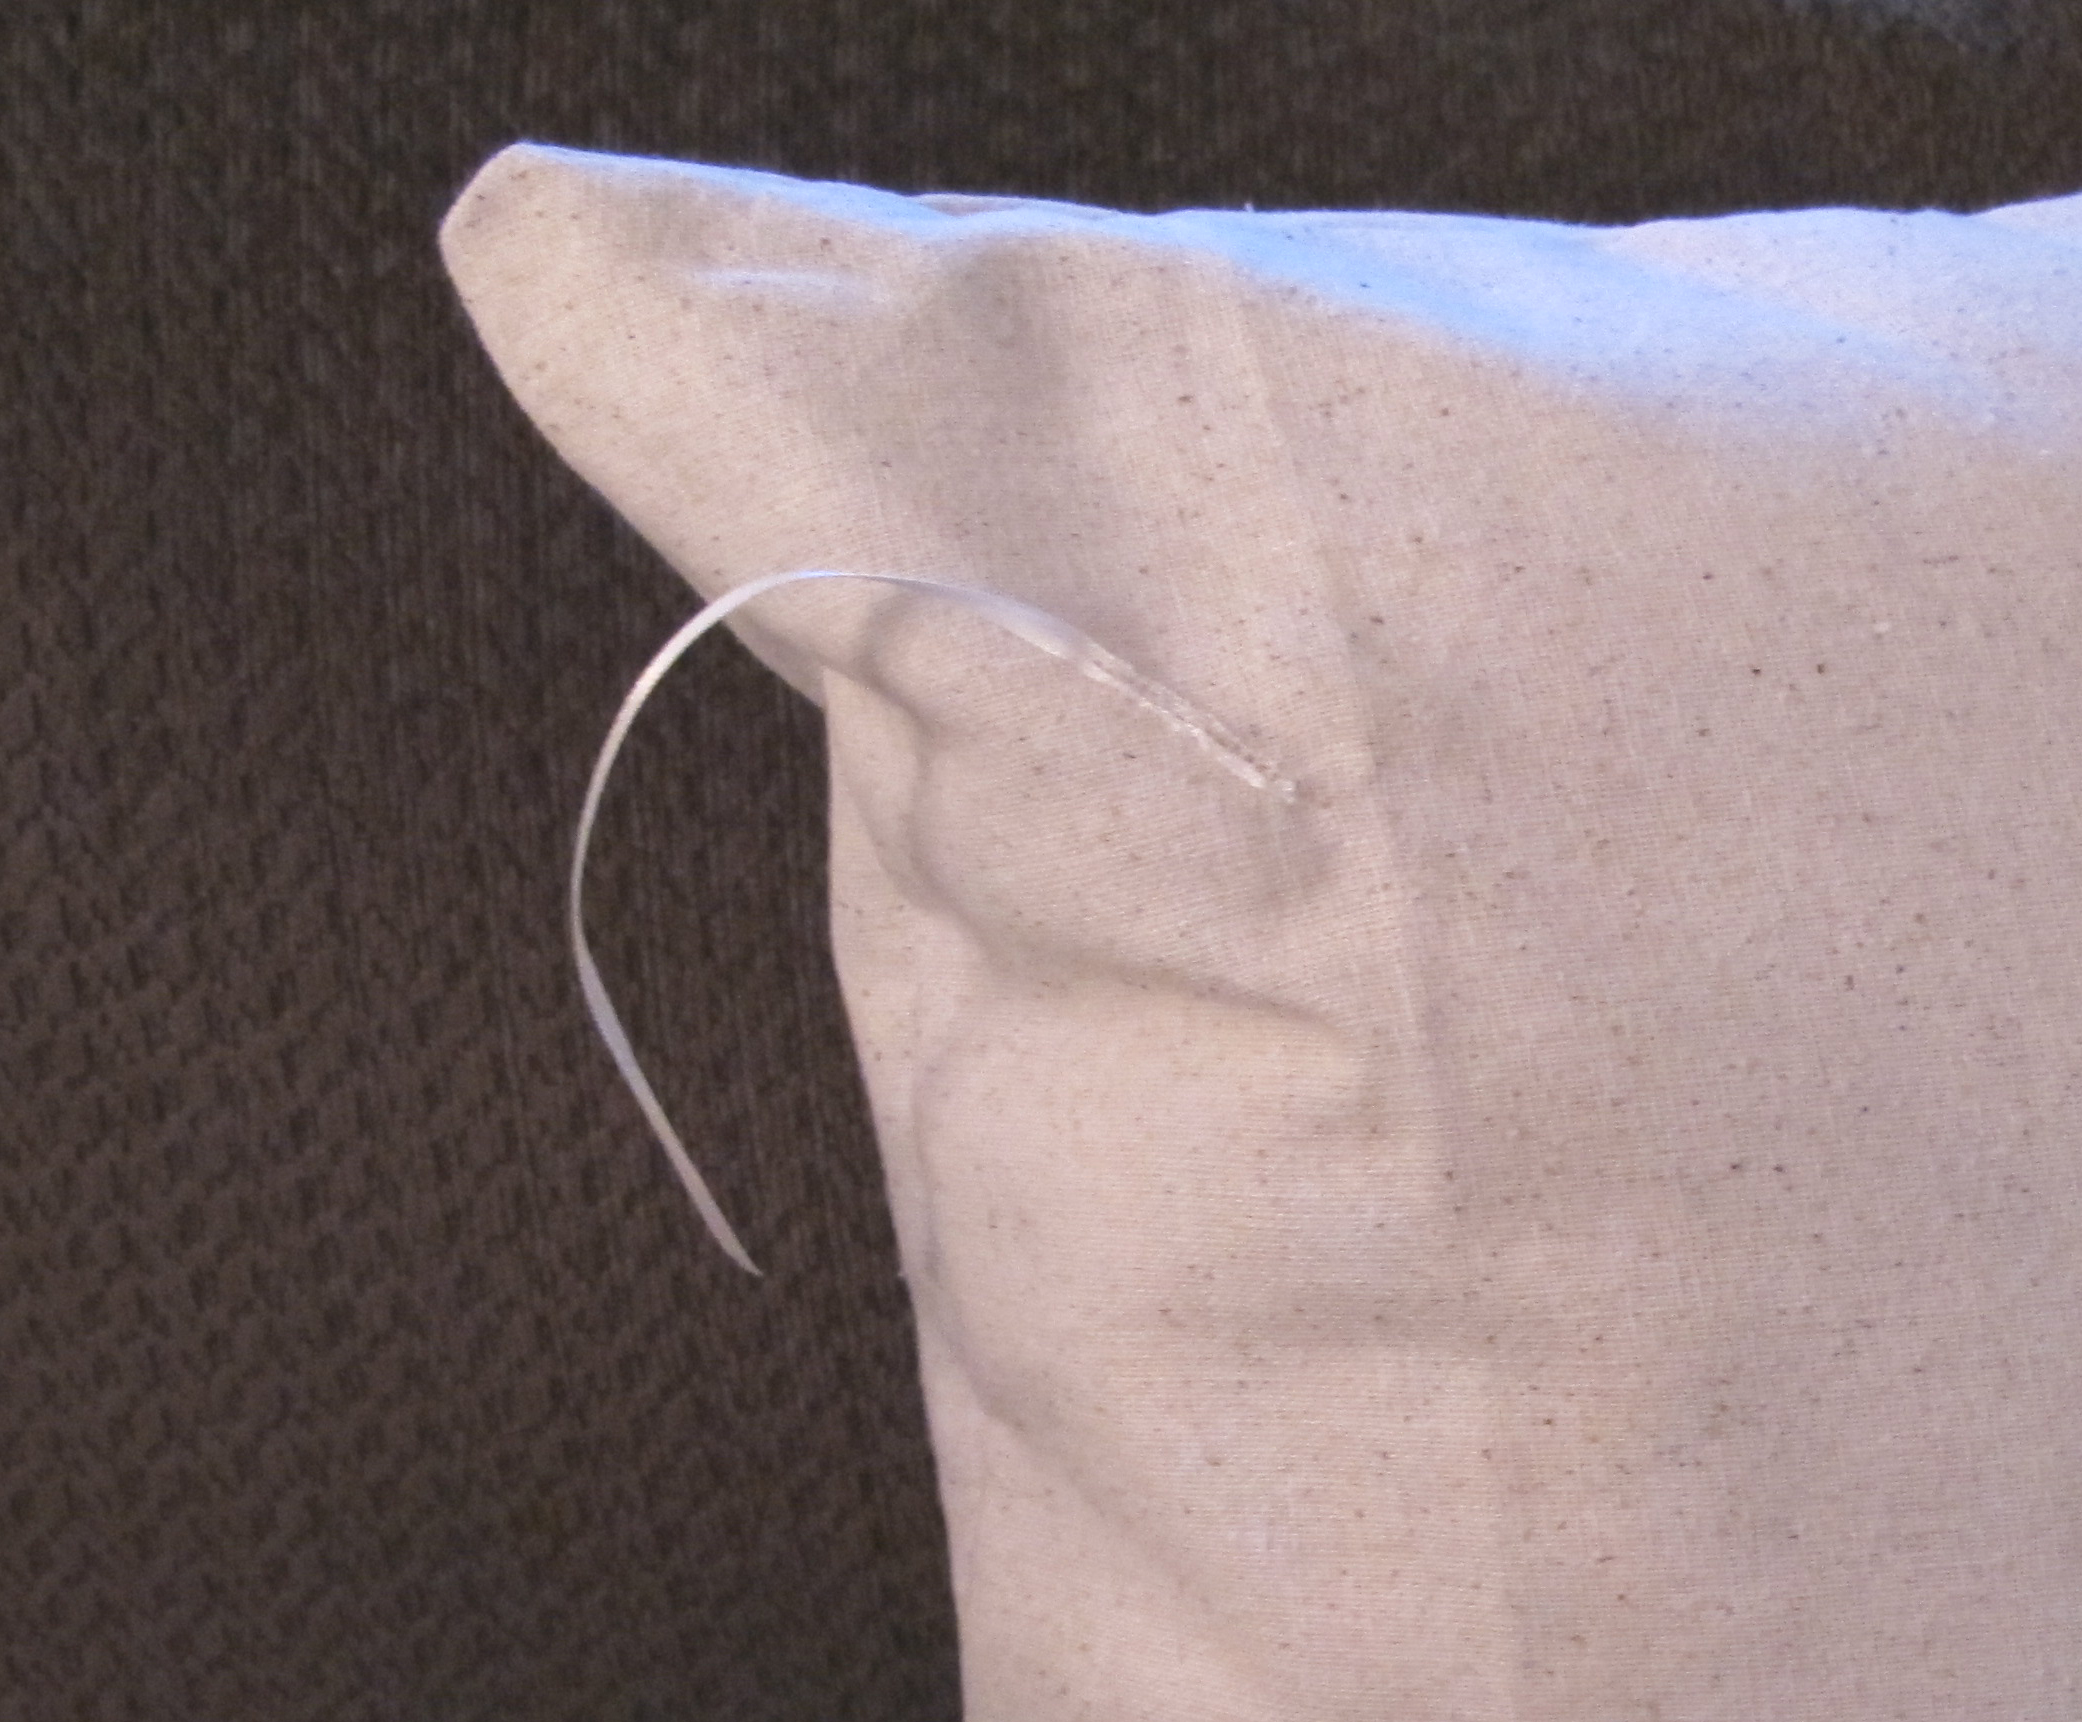
I made my pillow case but you can use a pre-made one.  Start by sewing narrow ribbons (1/8 inch), at opposite angles,  in the upper 2 corners of your pillow case.  Sew down the lower end leaving about 4-5 inches loose.

Bunting Pillow - Ribbon Tie White Tulip Designs  Pillow ribbons - Tie White Tulip Designs


I laid out my flags between the pillow ties to see how they would fit. Once I was happy with it I measured and cut a length of ribbon with roughly 5-6 inches left on either side to tie the bunting to your pillow.

Bunting Layout - White Tulip Designs
So now you can change your entire bunting or just switch the flags to coordinate with the season! If your pillow case opens easily you can hide your extra flags inside to have on hand for last minute changes. And here you go . . .

Bunting Pillow How to- White Tulip Designs
See original post here.


Bunting Pillow

We don’t commonly decorate for every holiday around here. Although I wish we sort-of would. This is a bit of a mission for me. I’ve been working on pillows for the living room around the same time I’ve been trying to come up with Valentines projects for the blog. And it hit me. Wouldn’t it be nice to have a decoration that was easy to change from season to season? I had planned to put together a “bunting” pillow for the living room anyway so this was a no-brainer. The bunting is simply tied on and the buntings can be changed to match the holiday! Cute! Here’s my Valentines version:


Bunting Pillow 2- White Tulip Designs


Cute, right?! And, it’s a great to use all those leftover fabric scraps.  So far, Ashley hasn’t noticed it’s potential as a cat toy, fingers crossed. Check back this weekend for a complete tutorial!

I believe I’m going to go put together some more Valentine’s decorations! I don’t get to have my house this girly very often!

Here’s the tutorial!


We’re partying at Wow Us Wednesday!

Spring Craft Blog Hop Weekend Favorites # 3 | Across the Boulevard - 04/27/2015 - 10:21 pm

[…] store find.  Make sure to check out how Bonnie created this. Jennifer at White Tulip Designs Heart Bunting How sweet does this heart bunting look?  I love that it’s easy to change out seasonally. […]

[…] love this Bunting Pillow from White Tulip Designs. Jennifer shows you how to make an interchangeable pillow and use up […]

Jennifer (White Tulip Studio) - 02/07/2021 - 12:15 pm

Thanks Jamie! Great idea!!

Jamie - 02/07/2021 - 11:29 am

Simple, yet glamorous - I love it!! Would be perfect for sports colors, too - that way you could advertise your team and “cheer” them on!! 🙂

Beverly Roderick - 02/06/2021 - 10:24 am

Thanks so much for linking up! Pinned and Tweeted.

Jennifer (White Tulip Studio) - 02/05/2021 - 9:39 pm

Thank you Beverly! I will definitely head over and link-up!

Beverly Roderick - 02/05/2021 - 9:46 am

Your Valentine’s bunting looks so sweet. I love the idea of changing up the bunting seasonally. I’d love it if you would like to share your Valentine’s Day crafts on the Spring Craft Blog Hop. 18 Blogs are hosting. If you’d like you can find the link at http://acrosstheblvd.blogspot.com/2015/01/spring-craft-blog-hop-valentines-day.html

Golden Elephant

I’ve had the most fun putting together this project. But, I honestly feel like it needs one more detail.

Color!

Let’s go back to the beginning . . .

Once I had the idea in my head I set out to find the perfect elephant. I found my plastic elephant toy at a craft store and asked Hubbs to remove his head. After a quick look of horror, I managed to convince him it would turn out as planned (at least he was convinced). FYI, he used a hand saw to remove the head quite cleanly. Then I took him outside and spray painted his head. (I love how he almost looks like he’s smiling!)

Elephant 1 Elephant 2 Elephant 3

The tusks were particularly tough to get coated but the antique gold treatment finally worked. I gave him 2 days to cure completely and then it was time to get him mounted. I used a piece of pre-cut craft wood to mount him on and stained it with a walnut stain. I traced the base of the elephant and then, following just inside the line, I filled it in with brad nails. I used a pencil to make sure the nails were about 1/4 inch above the wood. Then I put a line of super-strong, Weldbond glue along the traced line. The brad nails won’t hold the elephant up but it helped brace it in place while the glue dried.

Elephant 4    Elephant 5

Here he is, in his special place, on the wall.  I feel like he needs a little hit of color. What do you think?

Elephant 6

I’m thinking I need to paint a solid border around the outer edge of the wood and I’ve narrowed it down to a chartreuse green, bold red, or maybe a robin’s egg blue. I’d love to know what you think!


-Please note, affiliate links are included in this post.
Jesica - 02/24/2015 - 11:23 am

This is so cute it made me giggle! I love seeing something cheeky & whimsical like that in somebody’s home. I vote for chartreuse, I think it will pop against the lovely navy of your wall.

Sharon - Her Organized Chaos - 02/24/2015 - 10:39 am

This is such a cute idea! I am really into the goal accented stuff. It’s just so classy looking. Pinning and sharing! Thanks for sharing this at Totally Terrific Tuesday. I can’t wait to see what you have for this week!

Sharon
herorganizedchaos.com

Love letters . . .

Are you planning to create your own Valentines? Or, putting together a little Valentine’s Day get together and in need of some invites, etc.? Here is a list of my favorite romantic fonts for you to choose from. They are all relatively inexpensive and some are even free! (All fonts are linked appropriately - note, some are affiliate links)

Have fun creating your love notes!


Briar RoseSweet PeaPretty ScriptGive me some sugarMaestro fontSeaworthySusanne NouveauOndiseSalt & Spices ProStanwood Font

Have a wonderful week!


Saturday Style - Living Room

I’ve been working away on our living room update but I still have 3-4 weeks to go. Still looking for ideas and details and the painting isn’t even finished. I thought I’d share a bit of the inspiration I’ve been putting together to get the job done! Come see what might inspire your next project  . . .


Follow White Tulip Designs’s board Living Room on Pinterest.

Have a happy Saturday! See you next week!

D I Y   S h o p