
Well, darn it!! Talk about late to the party. If you’ve been anywhere near Pinterest in the last few days, then you are well aware that the blogosphere is going crazy for fabric pumpkins. Inspired by some adorable, sweater pumpkins from StoneGable blog , I spent last weekend working on making my own fabric pumpkins. So, as you may have guessed, apparently, so did everybody else. I mulled over the idea of whether or not to share my little pumpkin “growing” experience with y’all or just enjoy them all to myself. I really think you might enjoy my version, hopefully pick up a few things you haven’t seen before, and they’re basically FREE! Who doesn’t love free?
I’ve been amassing a collection of Halloween decorations for a really long time. However, the pumpkin portion of this collection has been quite lacking. G has never really been in to pumpkin carving and reacts as if he’s witnessing a massacre whenever we’ve attempted it. To avoid nightmares, I tend to lean more toward the fakes ones. Unfortunately, as you know, they can be somewhat cost prohibitive when it comes right down to it. This was going to be the year I went all out and created as many handmade pumpkins as possible. Hopefully, you’ll want to add to your collection too!
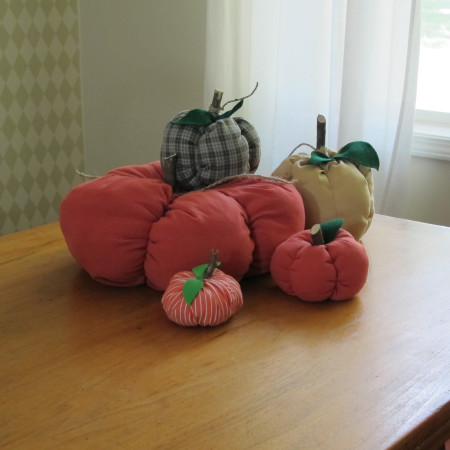
For these fabric cuties, I started with a stack of men’s dress shirts (and a few t-shirts!) that my hubby had decided to donate. Men’s shirts work best to get larger and smaller sizes. *FYI - The large, flat, solid orange pumpkin was made from the body portion of a t-shirt using the same basic steps as shown below.
Supplies:
- Men’s Dress shirt
- Cotton or Fiberfill for stuffing (I used an old pillow for free but you can purchase it here!)
- Dried beans (you need a small amount to give your pumpkin some weight)
- Jute/Natural Twine
- Sticks (cut them to 3-5 inches; wipe them off and let them dry over-night)
- Needle & Thread (quilting thread works best)
Click small arrow at the lower right side (under the thumbnail strip) to start slideshow!


Free Pumpkins!


- Start by removing the shirtsleeve just below the shoulder seam. Then remove cuff portion, leaving a “tube”.
- Gather the fabric together at the narrowest end, using a rubber band. (About 2 inches from the bottom.)
- Invert the gathered end inside the tube to form a “bag”. Fill bottom of bag with 1/4 - 1/2 cup of dried beans.
- Fill “bag” with stuffing evenly spacing each handful as you go and leaving a small hole in the center.
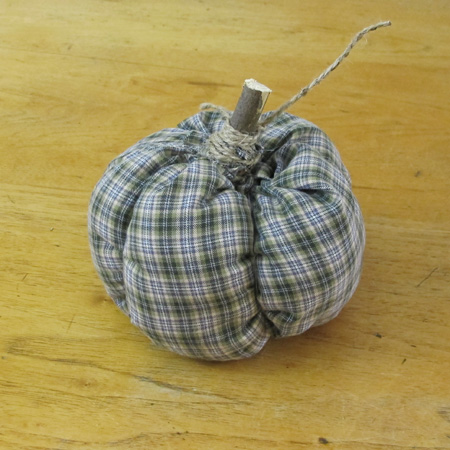
- Leave the top 2 inches of bag un-stuffed. Place the “stem” inside of the hole and gather loose fabric around it.
- Secure and cover fabric with length of twine (3-4 feet).
- Using coordinating thread, sew the vertical ridges to give your pumpkin shape. (Catch at the bottom and top only.)
- I added felt “leaves” to the tops of some of my pumpkins using tacky glue (my go-to for everything!)
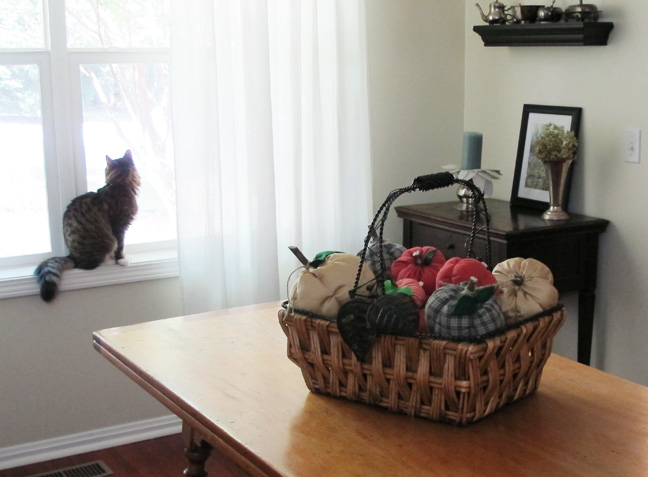
Now I have a nice, new collection of 12 pumpkins!

If you make your own shirt-pumpkins, I’d love to see your collection! Please feel free to share on my Facebook page!
For more autumn inspiration check out my Fall Home Tour!
Have a lovely day! See you soon!
Linking up at Met Monday,
*This post contains affiliate links but all views regarding product recommendations are my own! For more info refer to my policies page, thank you for stopping by!


Jennifer (White Tulip Designs)
Thank you Olivia! I’m so glad you like them!
These pumpkins are too cute! Thank you for sharing your instructions! I love to upcycle and these pumpkins are just too cute, and you make it look so easy to make!!!
[…] Tulip Designs got creative with the items she had around the house and made these Free Pumpkins from […]