
I hope you enjoyed last week’s Fall Home Tours. It was really exciting to be part of such a great group. The best part was coming up with quickie decor projects. Sometimes, when you’re photographing a room you can see holes in your design that you might not normally see. When I started putting the kitchen together I realized how empty the door looked and decided to whip up a quick wreath to tie everything together. Luckily, I had a wreath form on hand.
If you saw my home tour post you know that I promised to share how I put together the wreath. To be honest, the original wreath was whipped up much more quickly and much less permanently. But, I really liked the texture and look once we lived with it for a few days. So, I decided to pull it apart and make it more permanent for the tutorial.
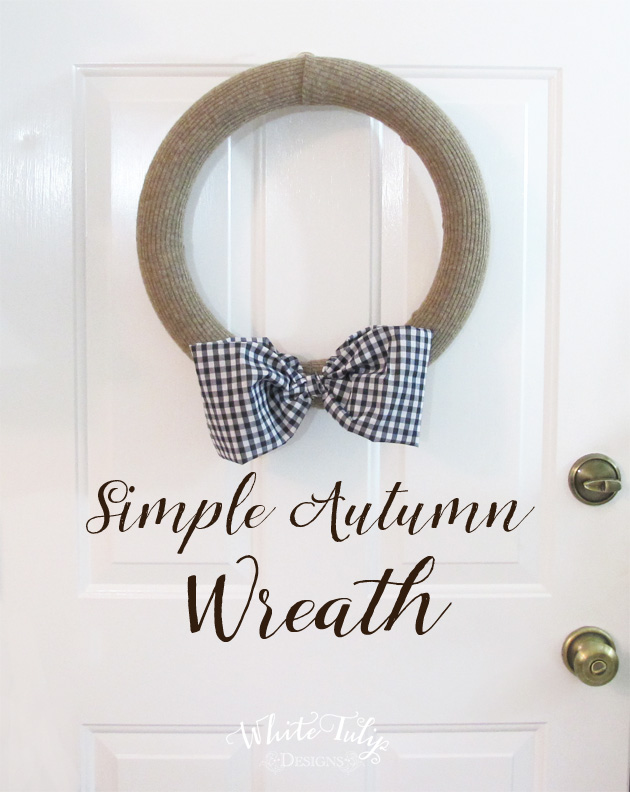
As promised, here’s my warm and cozy simple autumn wreath.
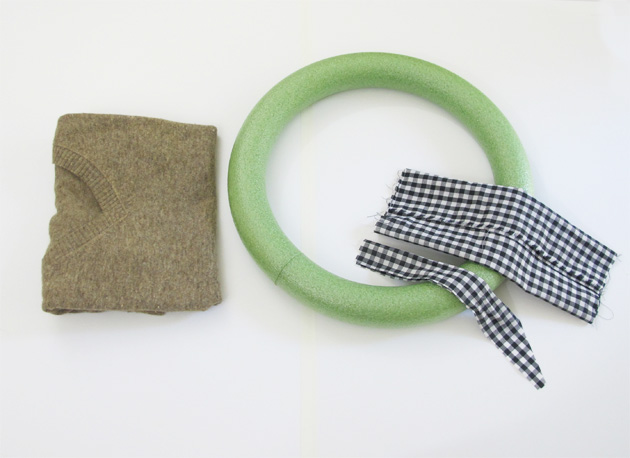
Start with a Styrofoam wreath form, a long-sleeved sweater, and a strip of light-weight cotton fabric. You’ll also need some basic sewing supplies. Don’t worry, as long as you can sew on a button, you’ll be fine.
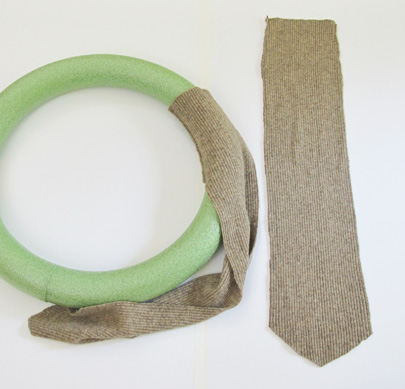
Cut the sleeves from the sweater, preferably along the shoulder seam. Then open the sleeve along the bottom, also along the seam.
Start at one end attaching the sleeve to you wreath form by “whip stitching” the seam back together. Don’t worry if it wiggles a bit we’re going to straighten it up before we hang it.

One sleeve down, one to go! I did straighten the first one a bit before starting the next one, going in the opposite direction.
Now that you’ve sewn both seems, straighten and align them so that they won’t show from the front. Use stick pins to hold everything in place and overlap the sleeves on either end.
Using fabric that was left over from my checkered bunting (over the kitchen sink) I put together a bow that didn’t require any sewing. I didn’t want to cut up the fabric either so that worked out really well. The fabric was about 18 inches wide and 40 inches long.
Laying the fabric out horizontally, I started by folding the top and bottom in on each other. Then I folded the left and right sides into the middle, tucking in the edges to make a wedge. This keeps the rough edges from showing when you tie everything together.
Use a scrap piece of fabric to tie your bow in the center then use the “tails” to pin the bow to your wreath form.
And now you have a quick and simple autumn wreath! Full disclosure, I’m thinking of taking of the bow and adding some flowers! I’ll let you know how it turns out!
Thanks for stopping by! Have a lovely afternoon!
Linking up at Met Monday,


Jennifer (White Tulip Designs)
LOL! I feel the same way. After I put together this and the up-cycled pumpkin project my hubby gets nervous about me rummaging in the closet.
There won’t be old sweater that is safe in my house!
Thank you Michelle!
I LOVE this with the sweater. Super fun and easy too. Thanks for sharing at #HomeMattersParty